Stash, inspect, then pop onto whichever worktree you want
Git Navigator turns git stash into three explicit actions on the same overlay: create a stash from the uncommitted-changes panel, expand any stash inline to see its files and diffs before deciding, then pop onto the active worktree — which you choose with the active-worktree radio. Stashes are repo-global; the pop target follows your selection.

Stash, the way it actually works
Stash from the panel you already have open
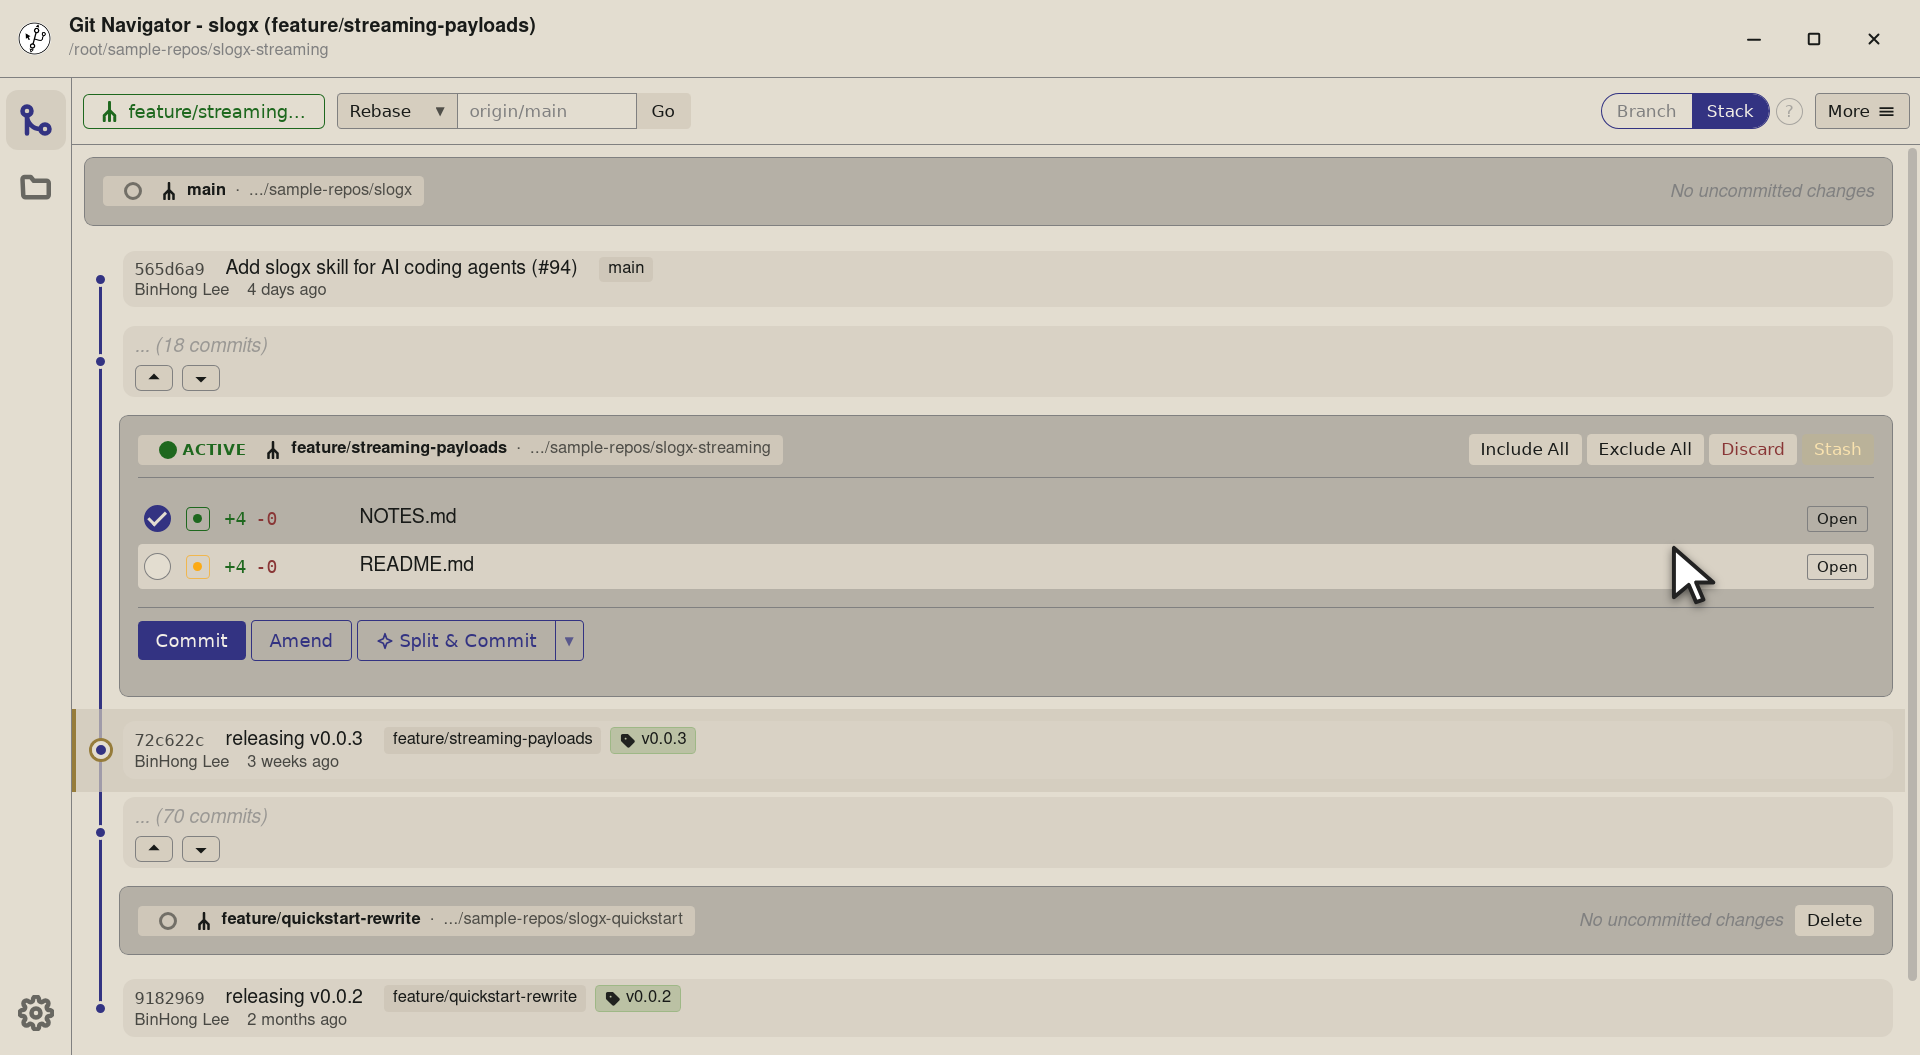
The uncommitted-changes panel grows a Stash button as soon as you stage something. No separate dialog — the button stashes the included files and clears the panel in one click.
Inspect before you pop
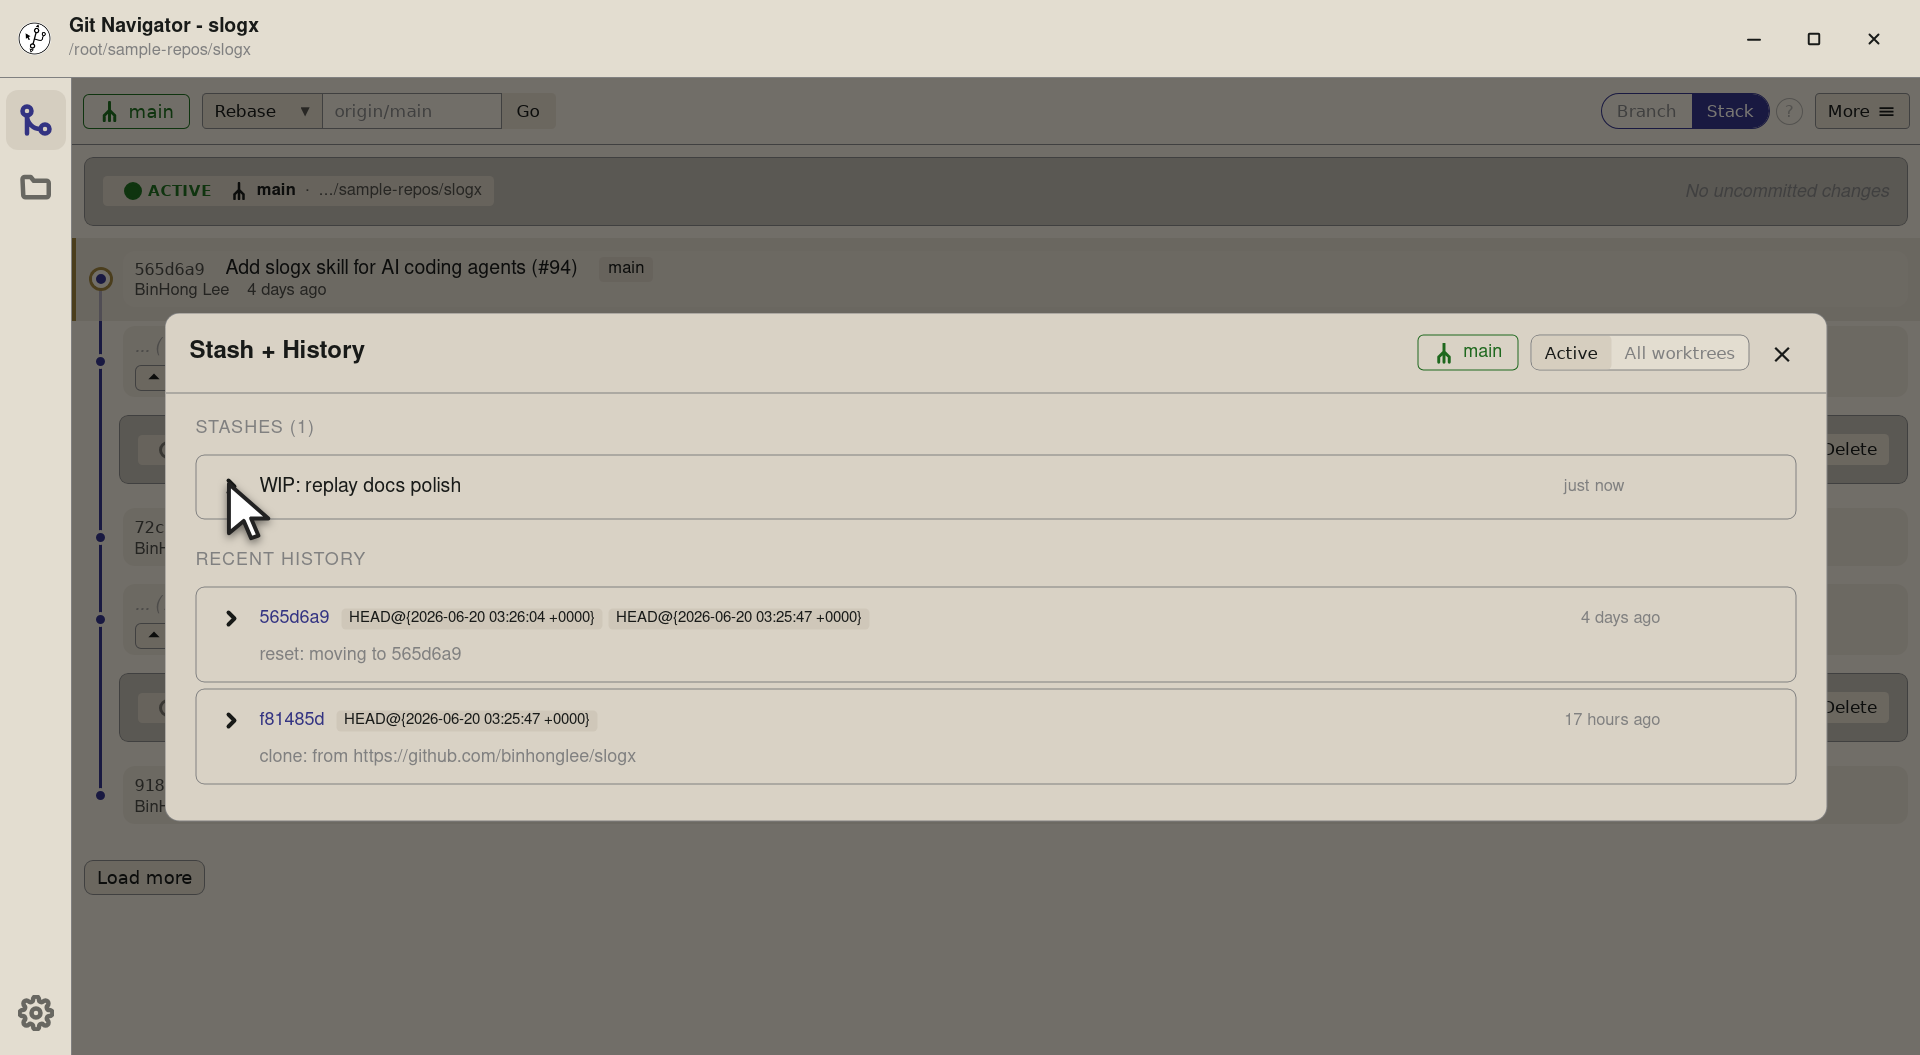
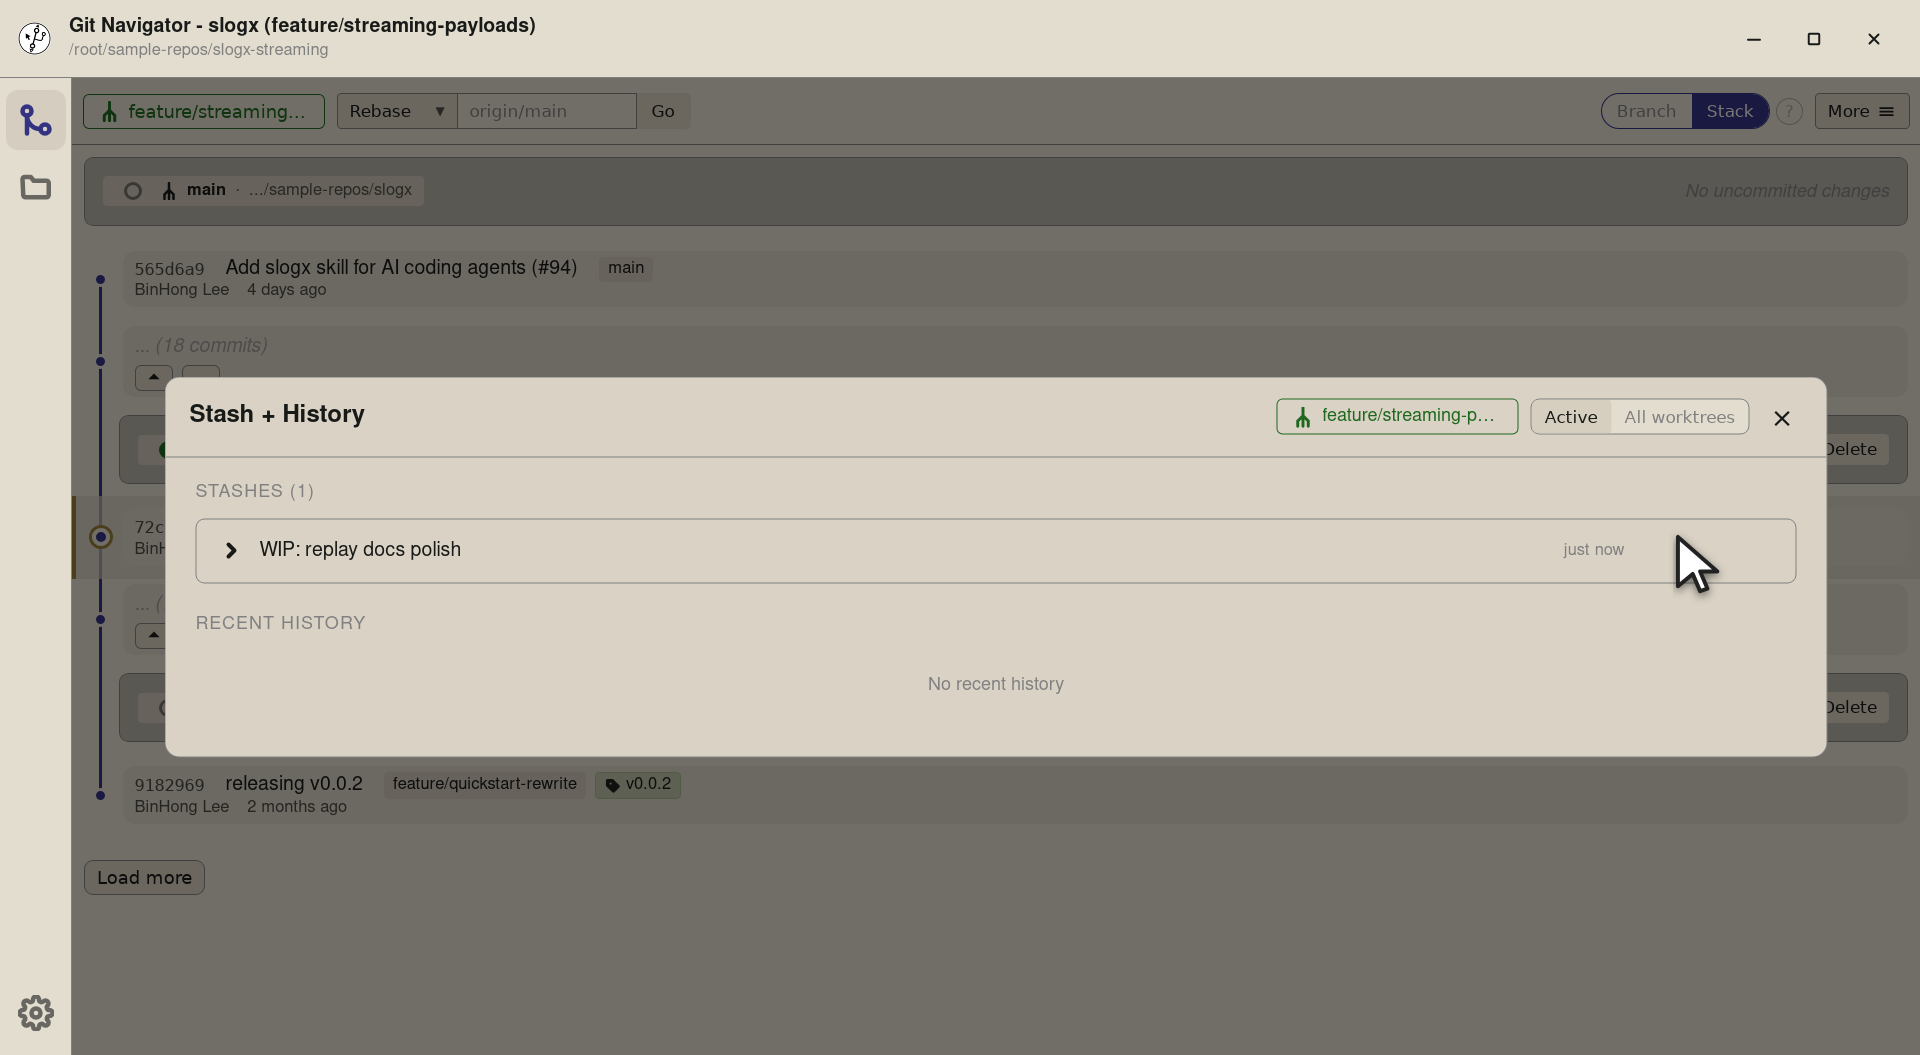
The Stash + History overlay shows every stash with its message and age. Click a row to expand it; click a file inside to see the diff. So you don't have to git stash show -p from memory.
Pop onto any worktree
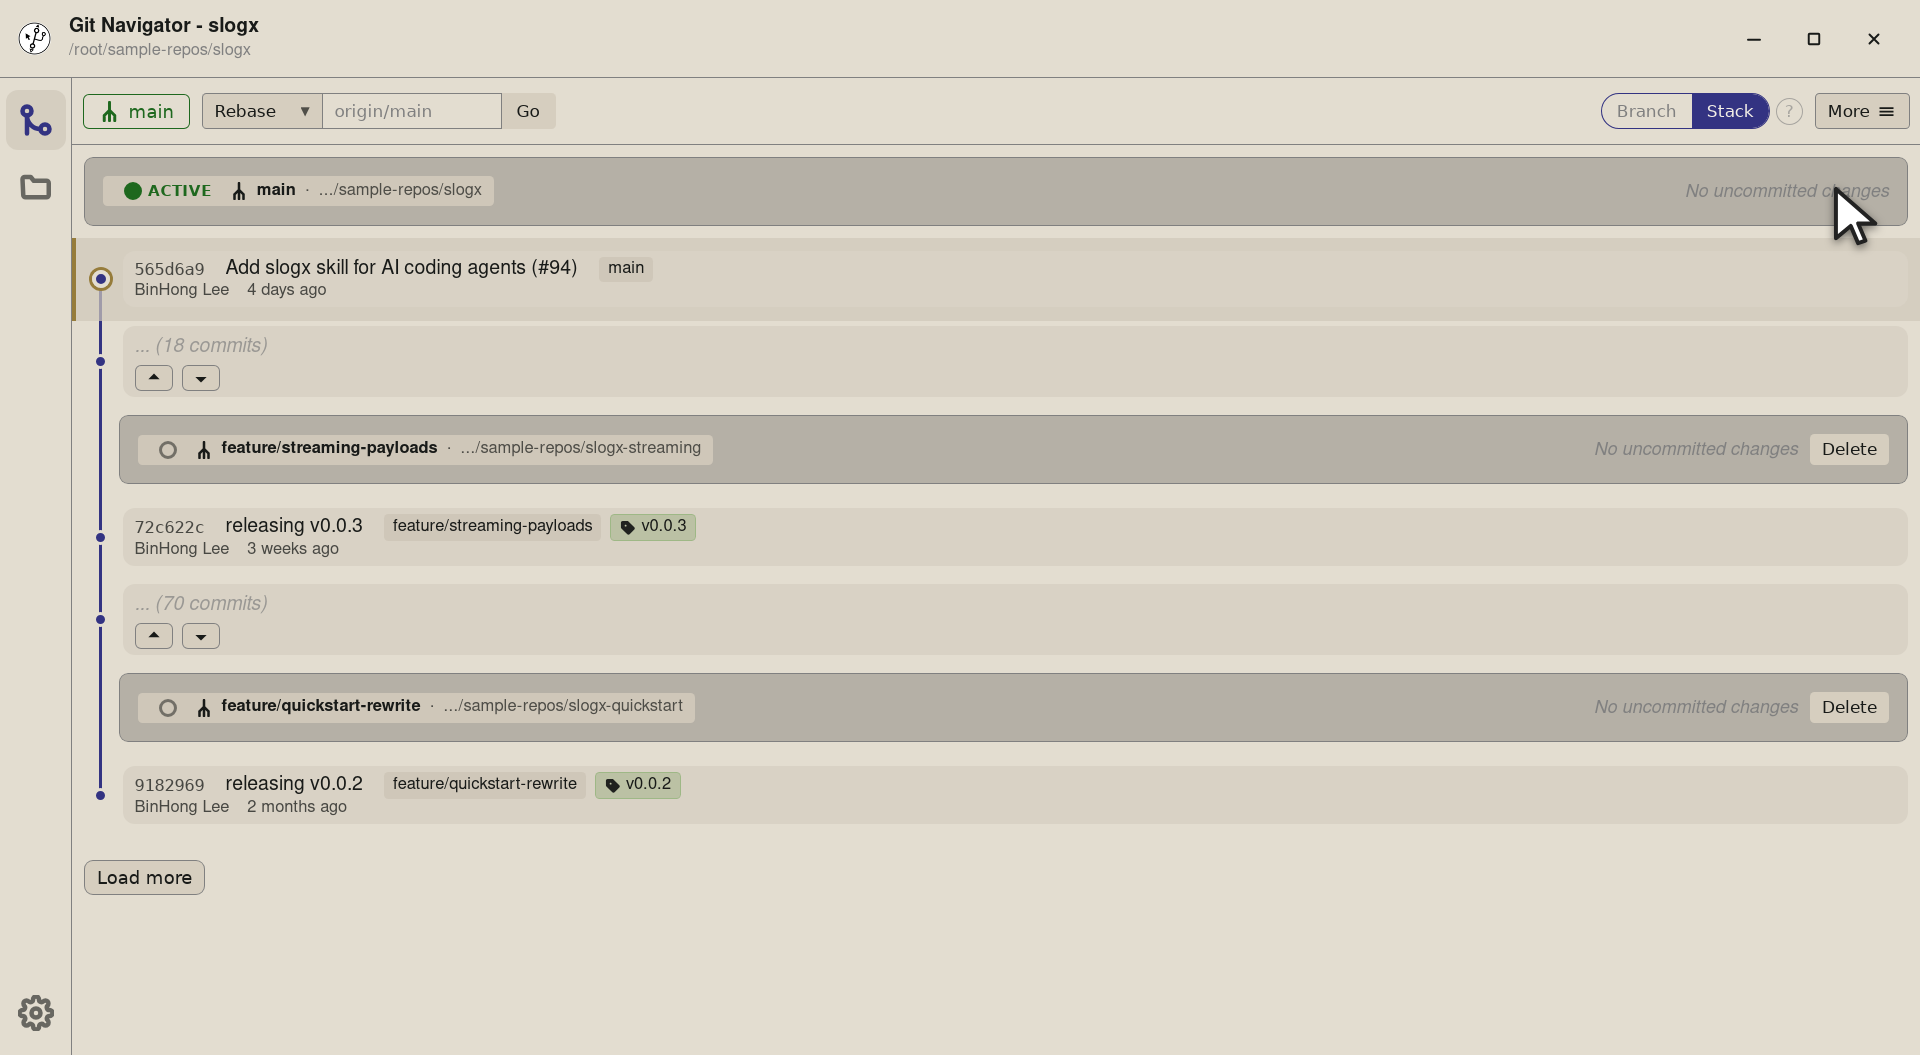
Stashes are repo-global, so they belong to the repository, not to whichever worktree made them. Pop runs against the active worktree — which you set with the radio on the worktree row. Switch the active worktree, open the overlay, pop: the stash lands wherever you steered it.
Drop without re-opening a shell
Each stash row carries a Drop button next to Pop. No more git stash drop stash@{N} arithmetic when N is a half-remembered number.
Walkthrough
-

Step 1. The uncommitted-changes panel for the active worktree already shows the staged files. Whenever there's something staged, the inline Stash button at the right of the panel lights up — it stashes the staged set and clears the panel in one step. -
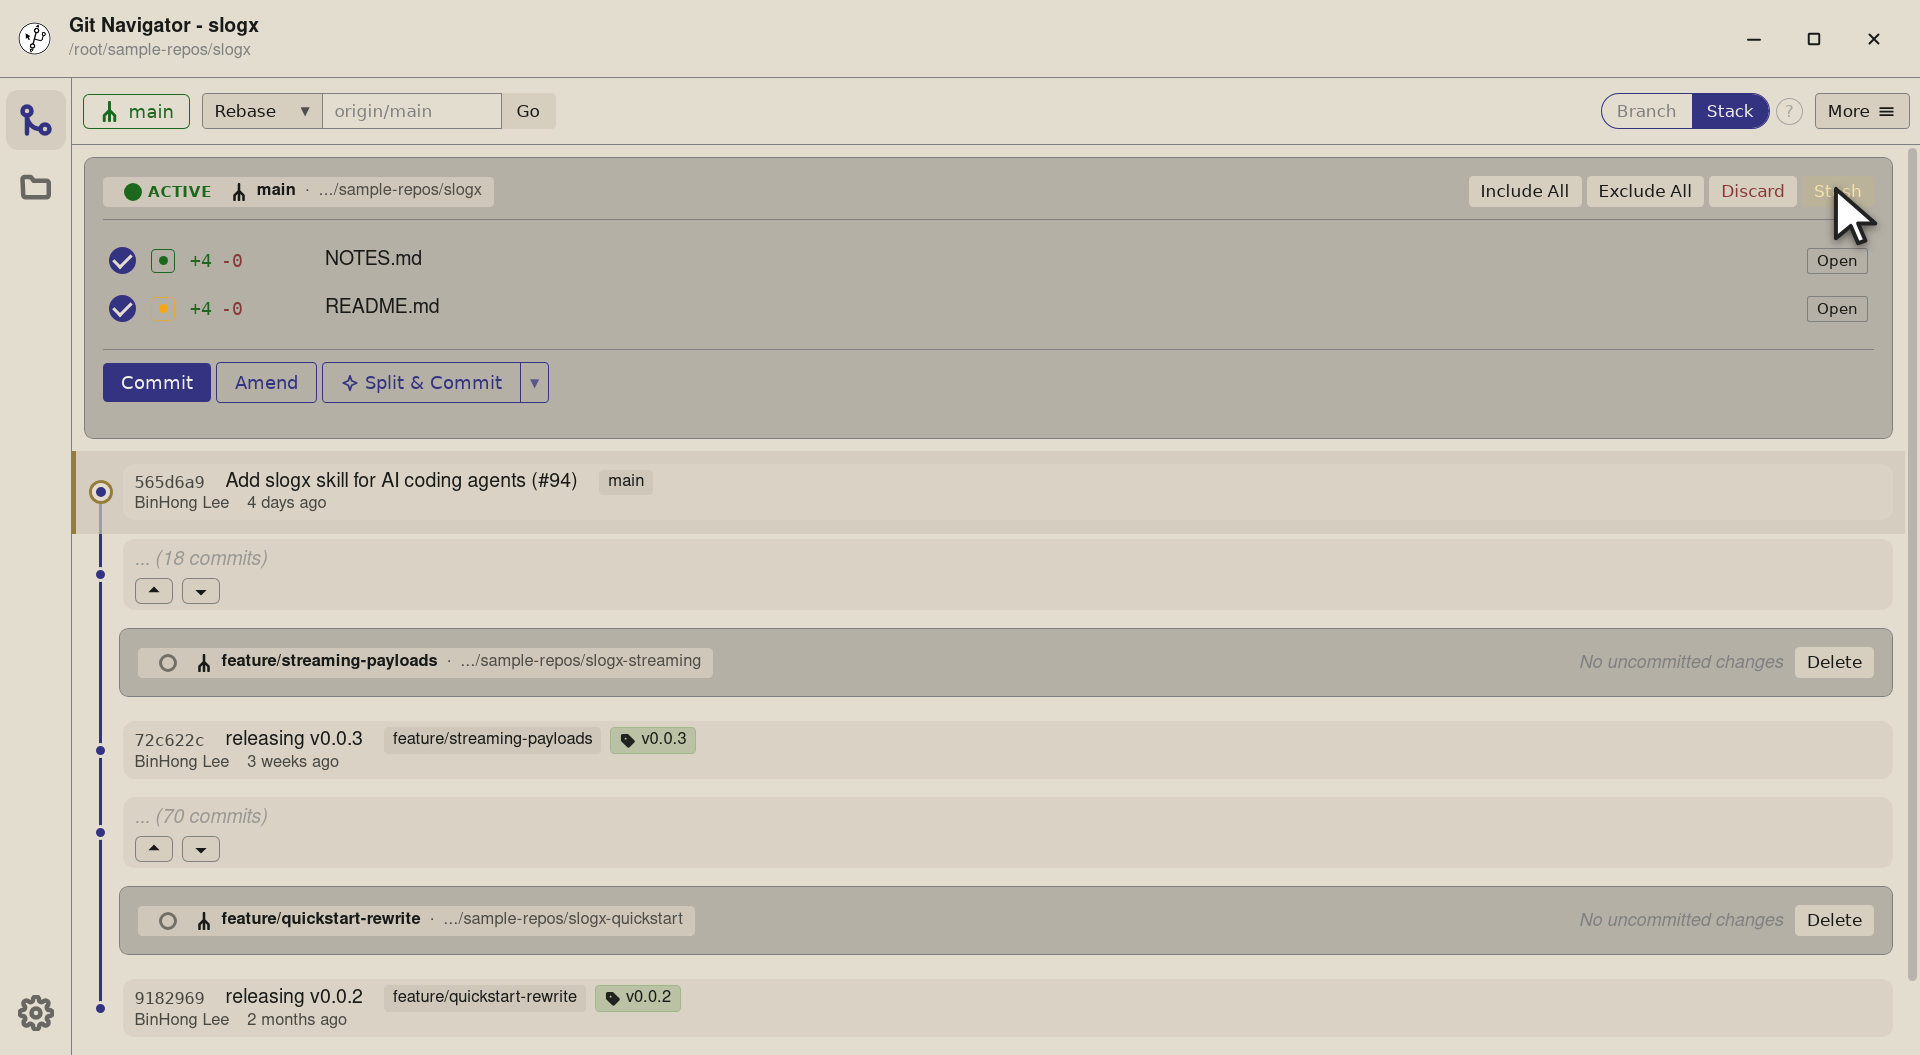
Step 2. The button is gated on a non-empty included set, so you don't accidentally stash nothing. Title-text reflects the gate: "Stash included changes" when enabled, "No changes included to stash" when not. -
Step 3. Click and Git Navigator runs git stash push -m "Stashed from included changes" -- <files>for the included paths. The panel clears (no more staged changes), and the new stash drops in atstash@{0}ready to be inspected from the Stash + History overlay.


-
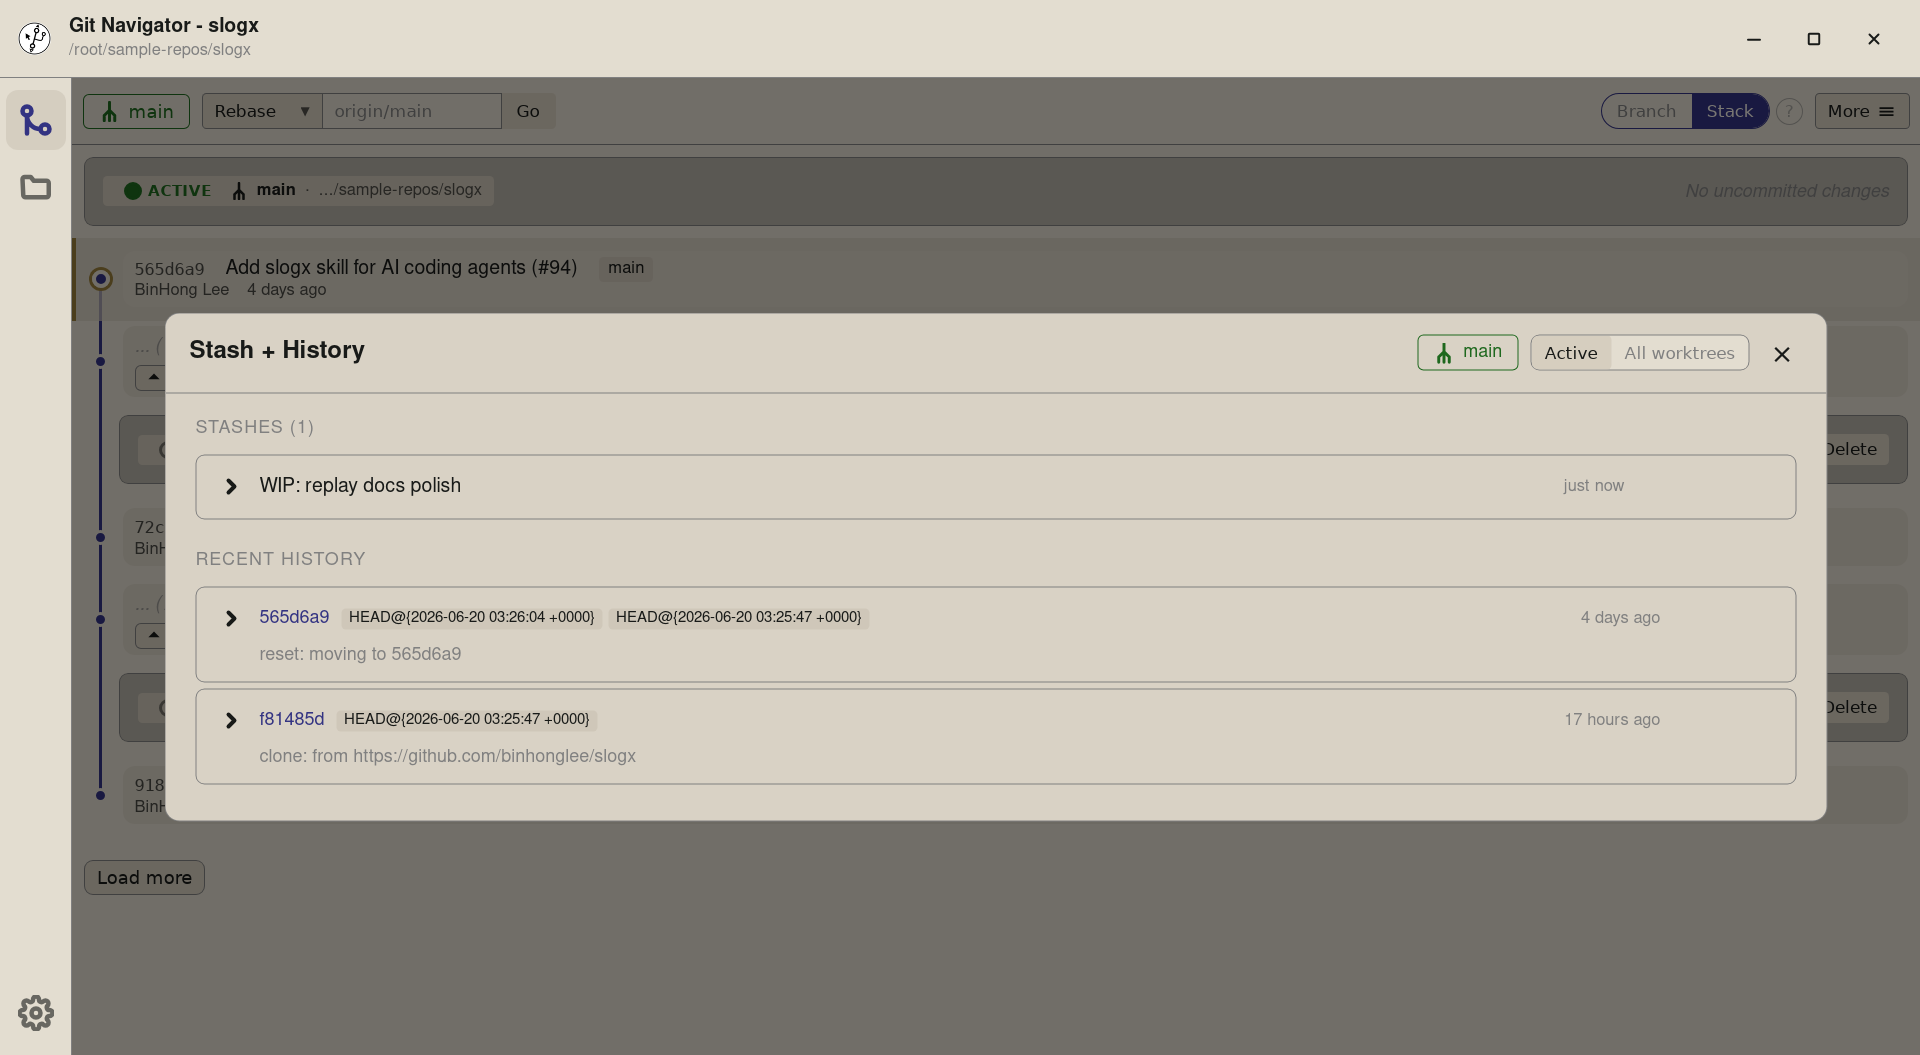
Step 1. Open More → Stash + History and the overlay shows every stash on the repo with its message and age — WIP: replay docs polish sits at stash@{0}. The list updates whenever you stash, pop, or drop from anywhere else in the app. -
Step 2. Each row carries a chevron that expands inline — no jump to another view. You stay on the overlay, so popping or dropping is always one click away while you're reading. -
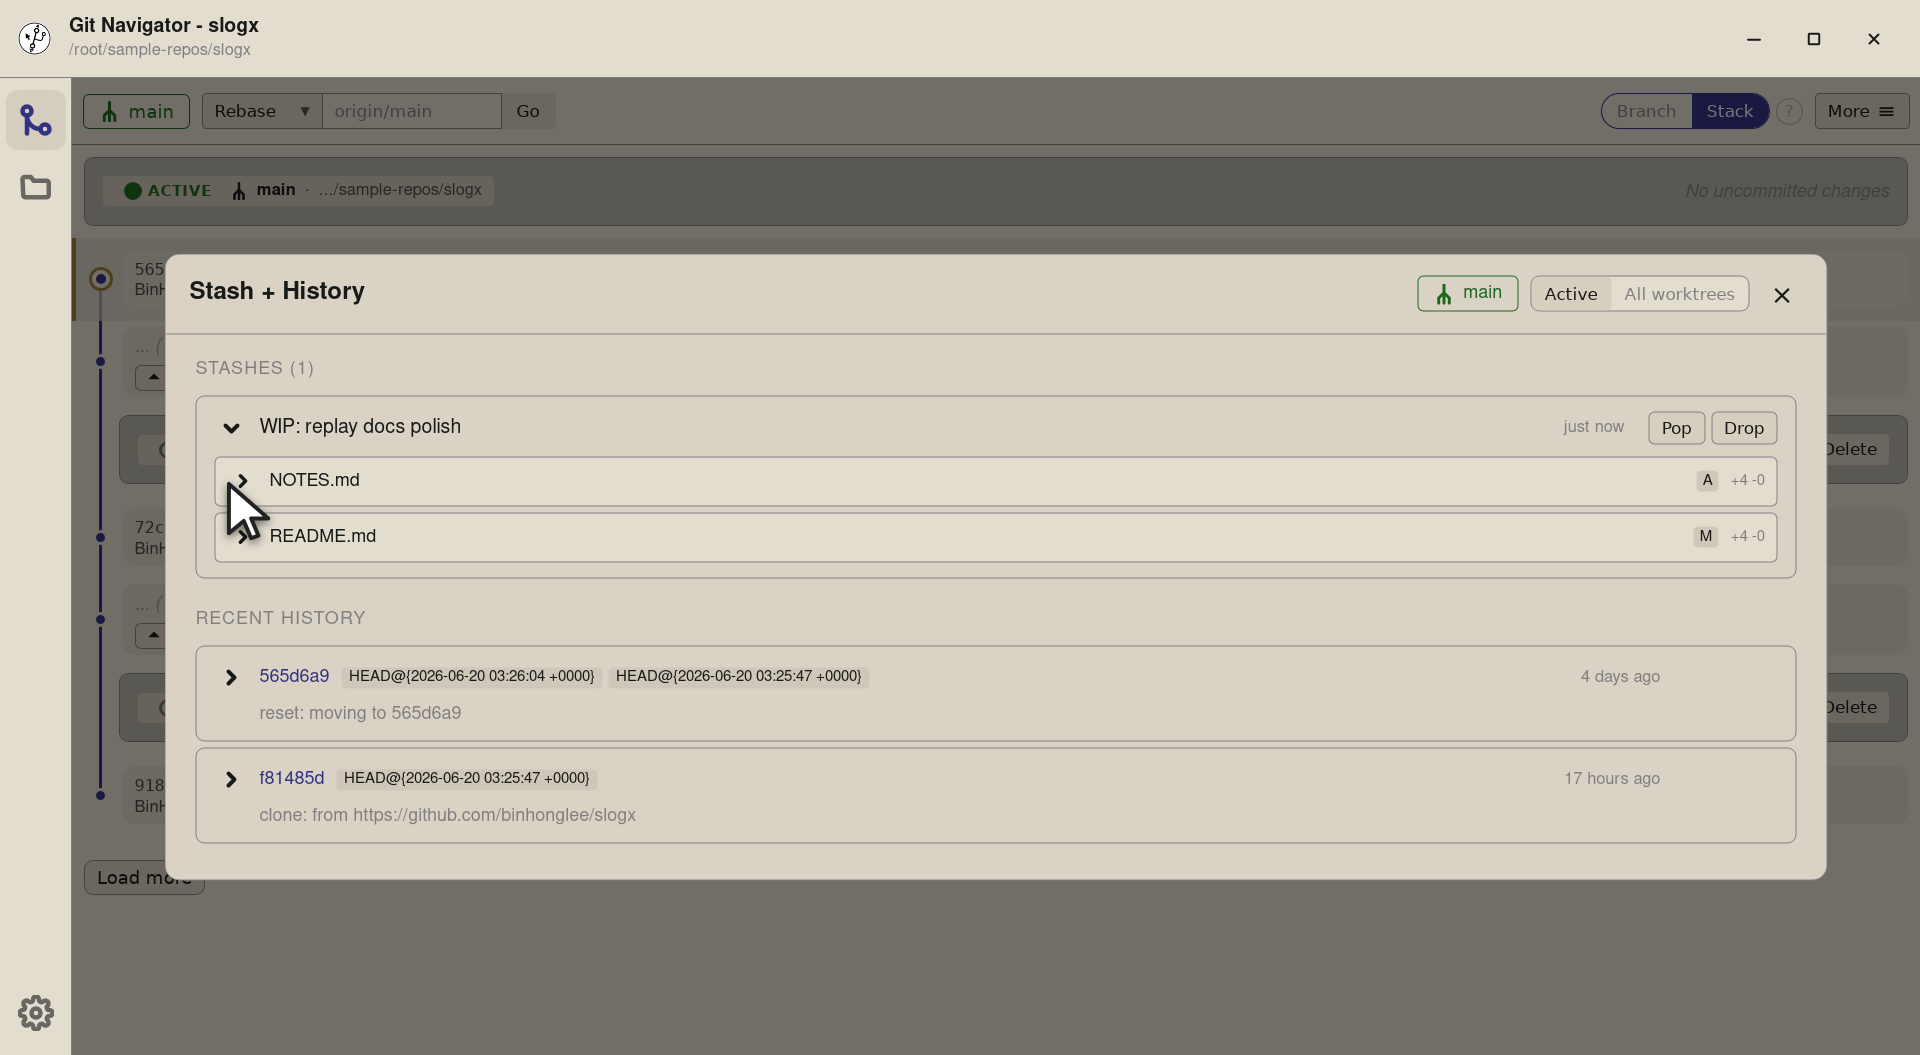
Step 3. Expanding the row lists the files the stash touches. Click any of them and the same row reveals the diff for that file — Git Navigator runs git stash show -pfor you, but inline. -
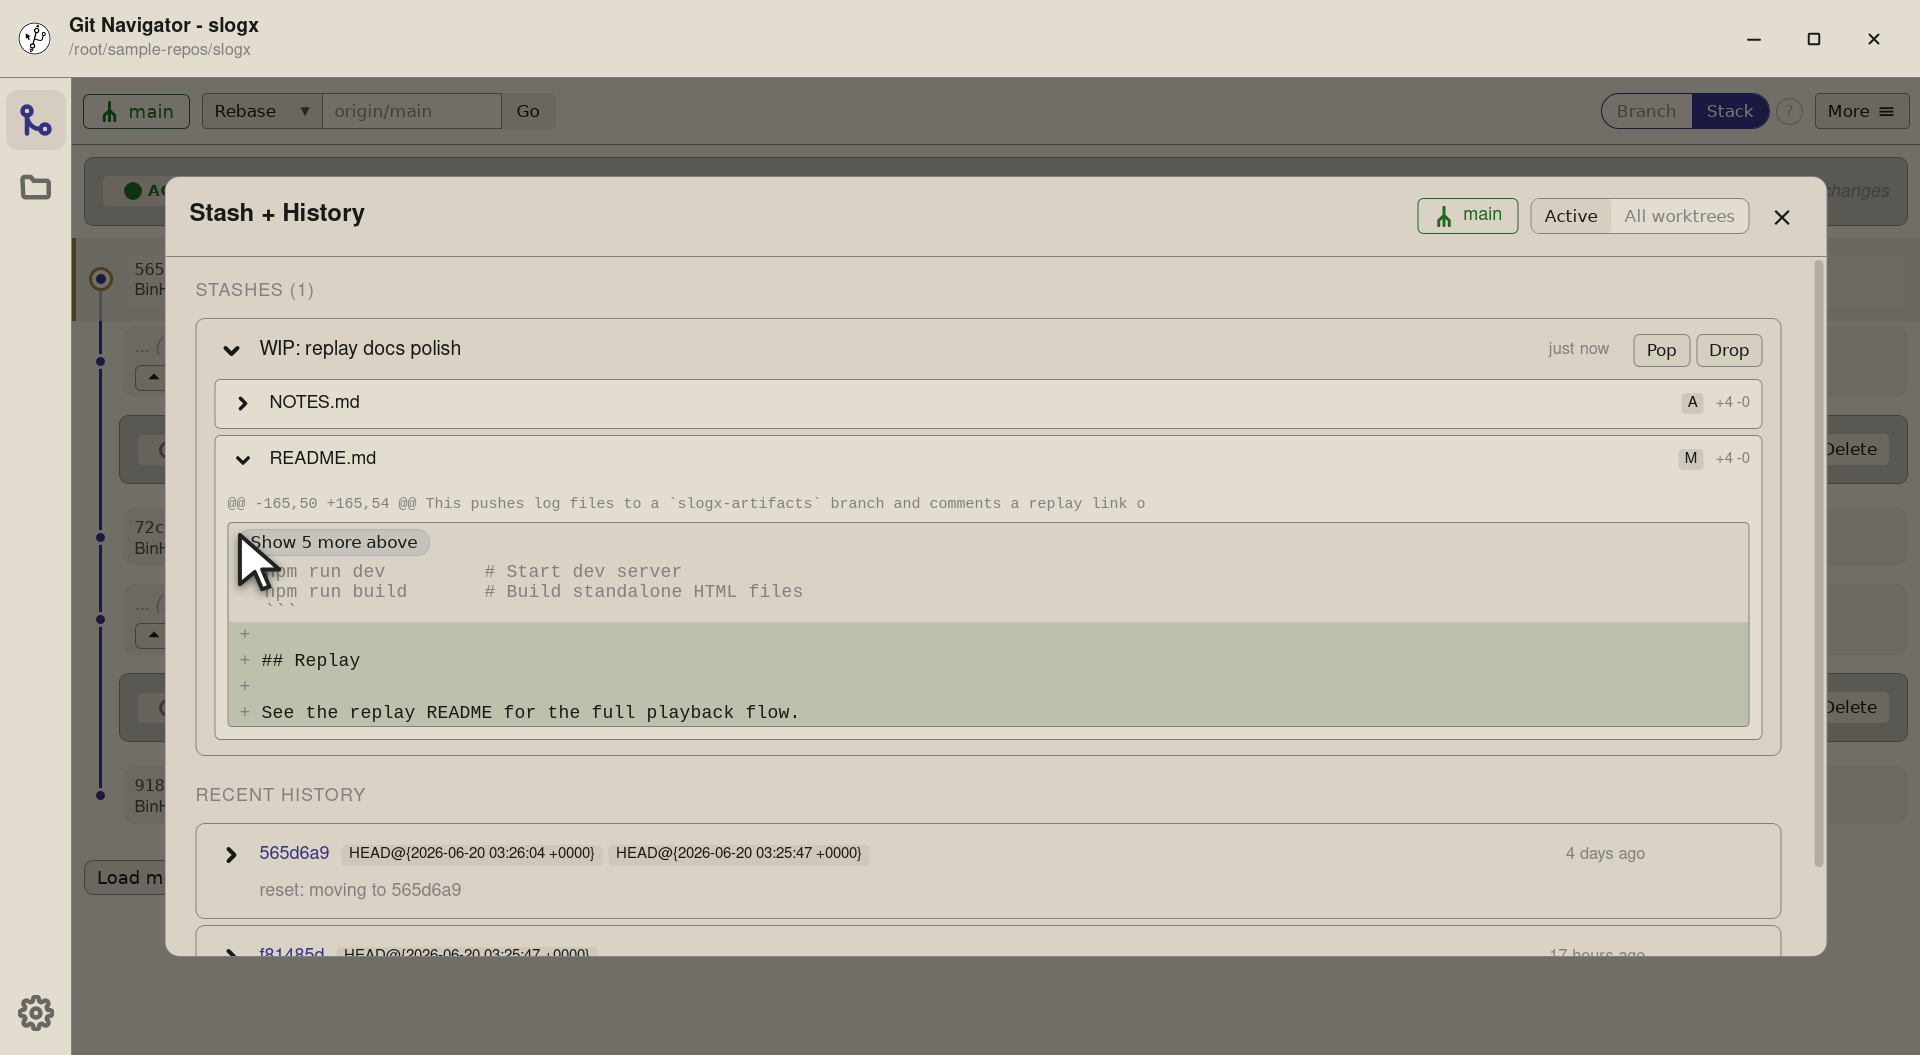
Step 4. The diff renders with the same hunk display the diff view uses elsewhere, so you can read the stash without leaving the overlay. Decide to pop, drop, or close — without committing to anything yet.


-
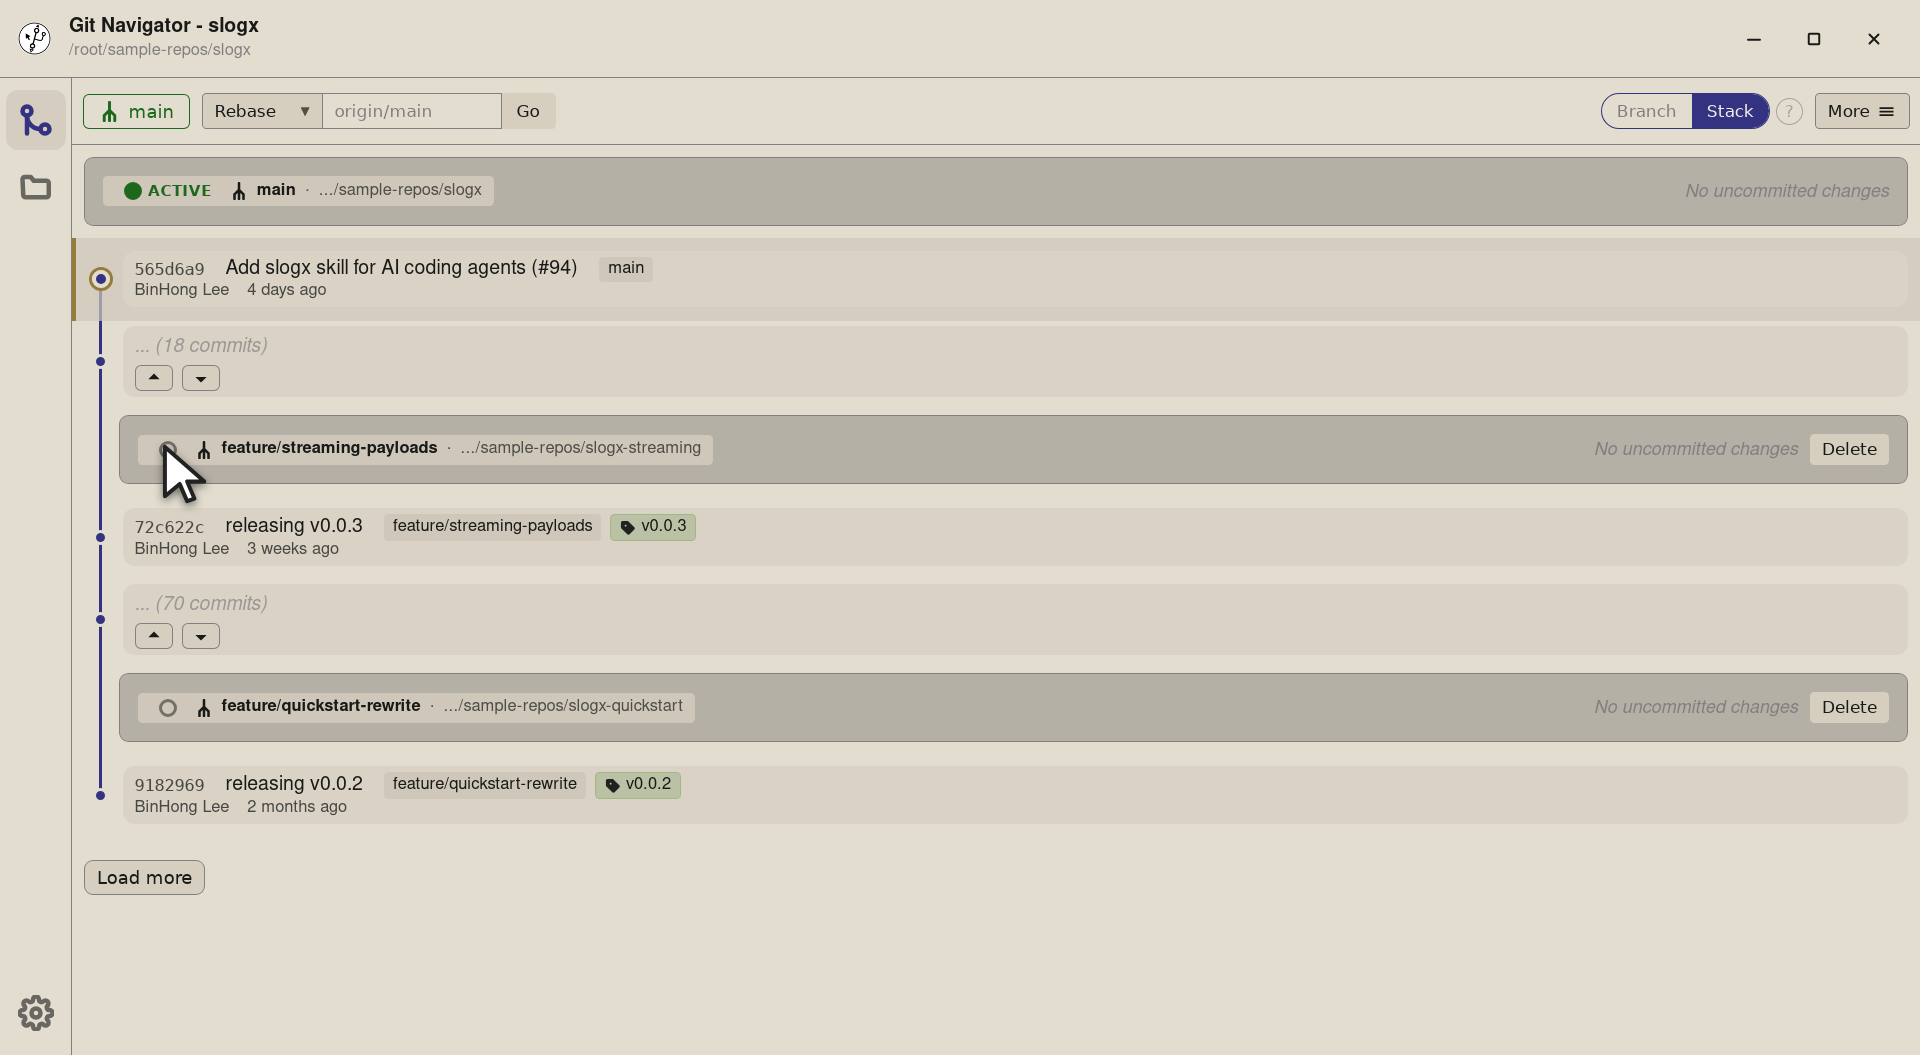
Step 1. The stash sits at stash@{0}on the repo. The active worktree right now isslogx(main) — but we want the stash to land onslogx-streaminginstead. Click that worktree's radio to make it active. -
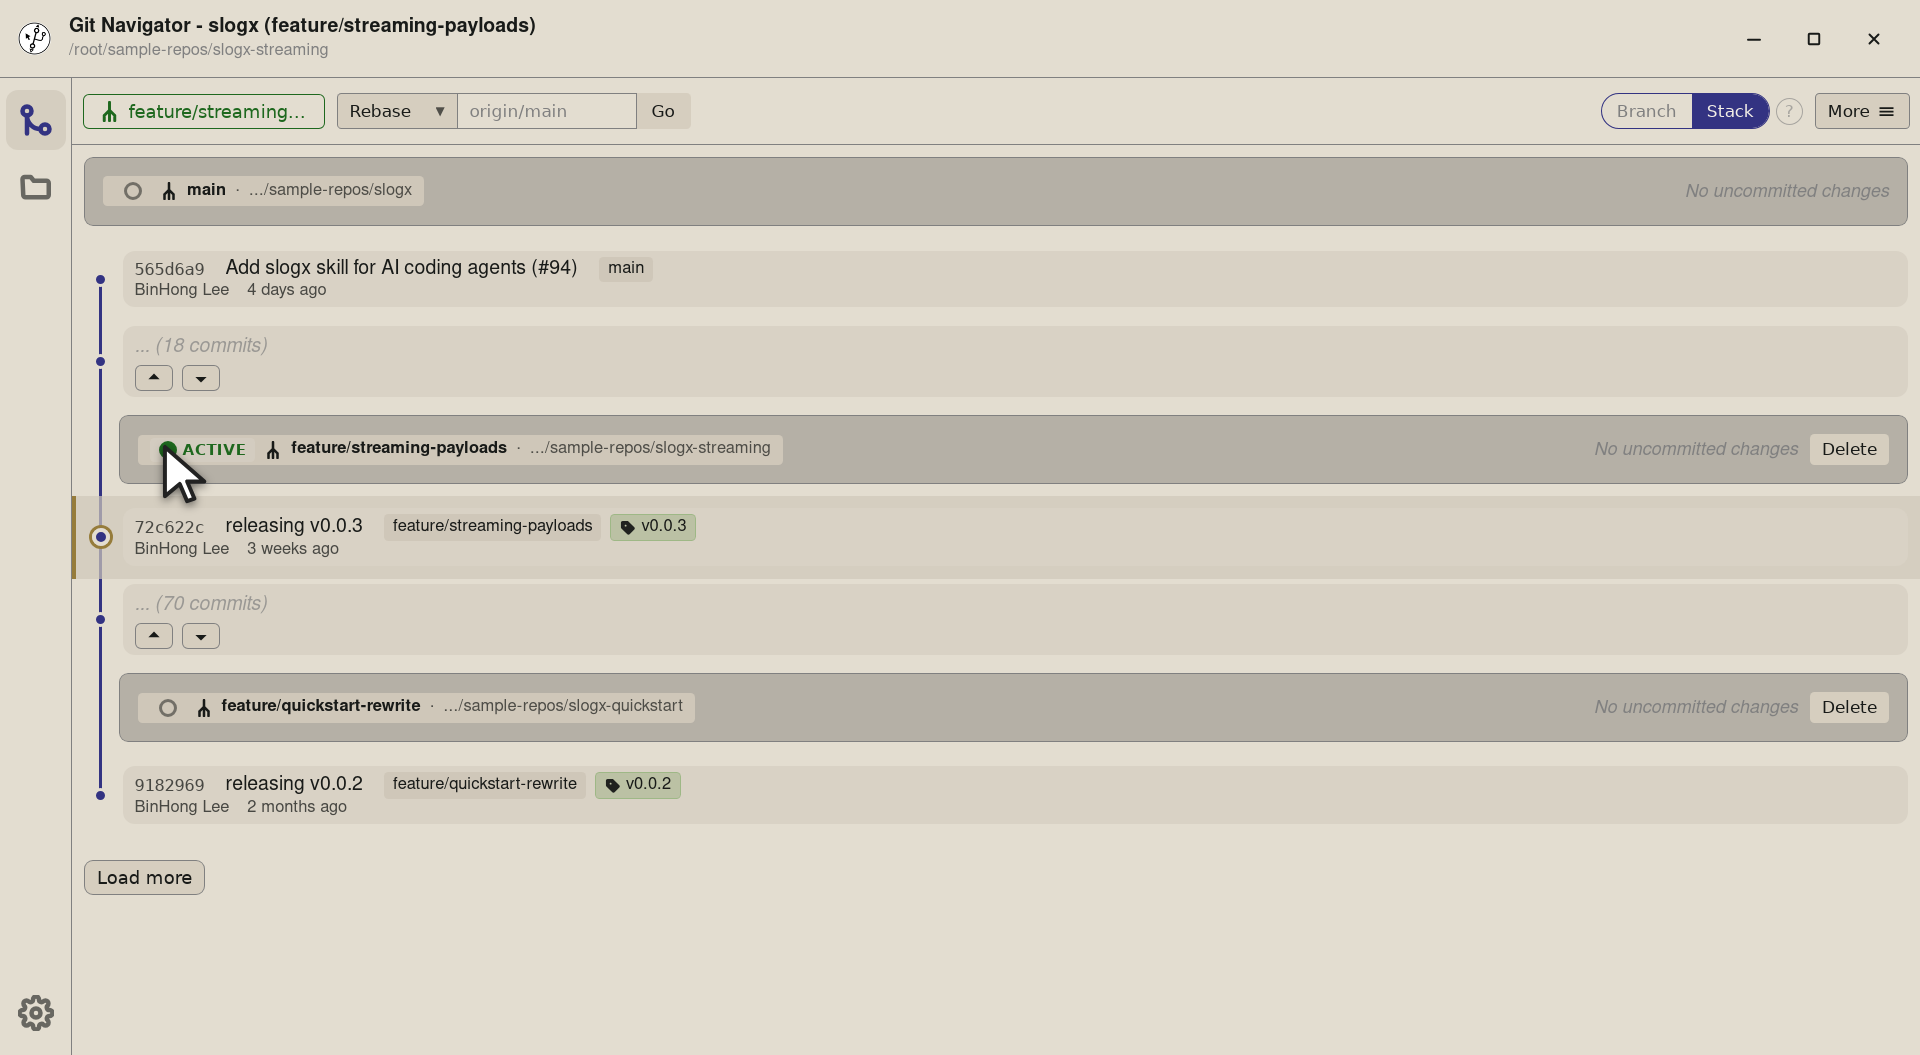
Step 2. Switching the active worktree re-targets the whole window: the graph, the uncommitted-changes panel, and — crucially for this flow — the Stash + History overlay's pop target. The active-worktree badge moves to the streaming row. -
Step 3. Open the overlay and the stash list is the same — stashes are repo-global. The Pop button runs against whichever worktree is currently active, so the next click sends the stash to slogx-streaming. -
Step 4. Pop lands the stashed changes on the streaming worktree — its uncommitted-changes panel fills with the files you stashed earlier on main. The stash entry is gone from the list (pop, not apply); a Drop button next to Pop would have removed it without applying.


The stash lifecycle
- Stage what you want to set aside. Stash works on the staged set, so stage the files you want to put on the shelf. The Stash button on the uncommitted-changes panel lights up the moment there's anything staged.
- Open the overlay to inspect. More → Stash + History lists every stash. Expand a row to see its files; expand a file to see its diff. Decide whether to pop, drop, or leave it.
- Pick the worktree to pop onto. Pop targets the active worktree. If you want the stash to land somewhere else, switch the active-worktree radio first — the overlay's next pop follows the new selection.
- Pop (or drop). Pop applies the stash and removes it from the list. Drop removes it without applying. No more
stash@{N}arithmetic.
Frequently asked questions
Why is Stash on the uncommitted-changes panel and not in the overlay?
Because the panel is what you already have open when you decide "actually, save this for later." Putting Stash there means you don't have to switch context — stage, hit Stash, the changes move to the stash list, and the panel clears.
Can I pop a stash onto a different worktree from the one it was made on?
Yes — and that's the most useful angle. Stashes are repo-global (Git stores them under refs/stash, not per worktree), and Git Navigator's Pop button targets the active worktree. Switch the active-worktree radio first, then open the overlay and pop — the stash lands wherever you steered it.
What does the inline expand actually show?
Clicking the chevron expands the stash row to list the files it touches. Clicking a file in that list expands further to show the diff for that file — same hunk display the rest of the app uses. The expand is purely additive: the overlay stays open, the Pop and Drop buttons stay one click away.
What's the difference between Pop and Drop?
Pop applies the stash to the working tree and removes it from the stash list. Drop removes it without applying. There's no Apply (keep the stash) in the overlay yet — pop, or drop, or close the overlay and decide later.
Does Stash respect conflicts in the active worktree?
Yes. Pop and Drop are gated on the active worktree being clean of in-flight merge / rebase / cherry-pick state. The overlay disables both actions if the worktree is in conflict, so you can't pop on top of a paused merge by accident.